
Maintaining a vehicle requires a balanced approach that combines preventative mechanical care with bodywork protection. Whether managing a daily commute, keeping a classic cruiser on the road, or maintaining a heavy-duty haul vehicle, understanding how your automobile’s systems work together saves significant money over its lifespan. Proactive maintenance prevents minor component wear from escalating into secondary failures that leave you stranded.
This guide breaks down every critical area of complete automotive upkeep. By learning how to inspect, diagnose, and address key mechanical and cosmetic issues early, you can keep your vehicle running smoothly, safely, and efficiently for years to come.
1. Engine Systems & Power-Train Care
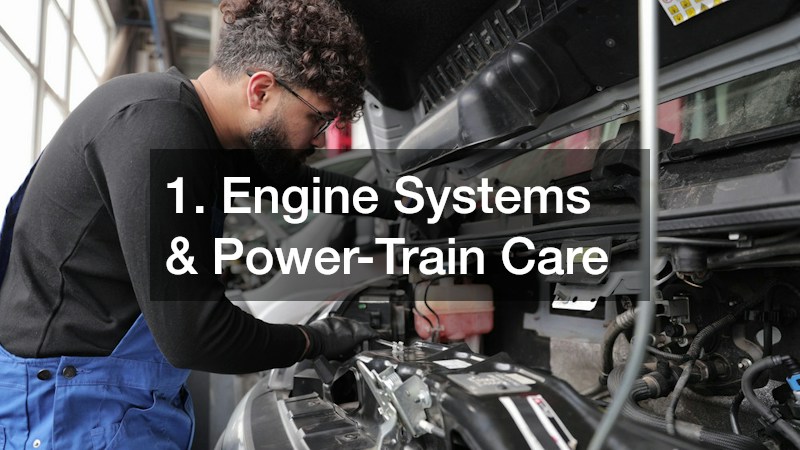
The engine is the heart of your vehicle, converting fuel into thermal energy and rotational power. Keeping this complex assembly running at peak performance requires attention to diagnostics, fuel delivery, and thermal management.
Diagnostic Protocols for Fault Codes and Unusual Sounds
Modern vehicles use onboard diagnostic systems to monitor combustion, emissions, and engine timing. When a warning light triggers on your dashboard, taking a systematic approach to troubleshooting prevents unnecessary parts replacement:
- Scan for Active and Pending Codes: Plug an OBD-II scanner into the port beneath the steering column to retrieve diagnostic trouble codes (DTCs). Active codes indicate current faults, while pending codes highlight intermittent issues that haven’t crossed the threshold to trigger a light.
- Isolate Mechanical Noise Origins: Use a mechanic’s stethoscope to locate specific sounds. A sharp metallic tapping near the top of the engine often points to valvetrain wear, whereas a deep, rhythmic thud from the lower block suggests main bearing play.
- Inspect Vacuum Lines: Dry-rotted or disconnected rubber hoses allow unmetered air to enter the intake manifold, causing lean fuel mixtures and rough idling.
Fuel, Air, and Ignition System Calibration
Efficient combustion depends on an exact ratio of clean air and atomized fuel ignited at the precise microsecond:
- Spark Plug and Coil Care: Inspect spark plug electrodes for carbon buildup, oil fouling, or premature erosion. Always set the electrode gap to factory specifications before installation, and test ignition coil resistance with a multimeter.
- Cleaning Air Intake Pathways: Remove the mass air flow sensor and spray it with a non-residue electronic cleaner to eliminate fine dust particles that throw off air-density readings. Clean carbon deposits off the throttle body plate using a dedicated solvent and a soft brush.
Thermal Management and Lubrication
Excess heat breaks down engine oil and warps cylinder heads. Flushing the cooling system every two to three years prevents scale buildup inside internal water jackets. Always check coolant pH levels; acidic coolant degrades gaskets from the inside out. Furthermore, consistent oil changes using the correct viscosity rating protect delicate valvetrain components. Requesting professional engine repair services at the first sign of persistent oil burning or coolant loss ensures internal tolerances remain tight and prevents total engine failure. When severe mechanical damage occurs, seeking specialized auto engine repair ensures the cylinder block, crankshaft, and cylinder heads are properly machined and rebuilt to factory tolerances.
2. Braking Systems & Road Safety Mechanics
Your braking system is your primary active safety feature. Understanding how hydraulic pressure translates into friction allows you to catch wear before it compromises your stopping distance.
Evaluating Wear Patterns on Pads and Rotors
Friction components wear down naturally with use, but irregular wear patterns signal mechanical issues within the caliper assembly:
- Measuring Friction Material: Use a digital caliper to check the thickness of the brake pad lining. If the friction material measures less than 3 millimeters, replace the pads immediately.
- Diagnosing Tapered or Diagonal Wear: If one end of a brake pad is significantly thinner than the other, the caliper guide pins are likely seized or bent due to lack of high-temperature grease.
- Inspecting Rotor Surfaces: Run a finger across the rotor face (when cool) to feel for deep scoring or heat checking. Rotors with minor scoring can often be resurfaced on a lathe, provided they remain above the minimum discarded thickness cast on the rotor hat.
Hydraulic System Maintenance and ABS Diagnostics
Brake fluid is hygroscopic, meaning it absorbs moisture directly from the air over time. Water contamination lowers the boiling point of the fluid, causing a spongy pedal during heavy braking, while accelerating internal rust inside calipers and master cylinders:
- Performing a Fluid Flush: Connect a pressure bleeder to the master cylinder reservoir and open each caliper bleeder valve sequentially, starting at the wheel furthest from the master cylinder, until clear fluid flows through the clear hose.
- Cleaning ABS Wheel Speed Sensors: Anti-lock braking systems rely on magnetic sensors placed near tone rings at each wheel hub. Metal shavings and road grime frequently collect on these sensor tips, interrupting signals and triggering ABS fault warnings.
Regularly inspecting hydraulic lines for cracks or bulges is essential for overall vehicle safety. Catching minor fluid leaks early makes general auto repairs much simpler, preventing master cylinder starvation. If you notice a soft pedal, persistent squealing, or steering wheel shake during hard stops, scheduling prompt brake repair restores firm pedal feel and safe stopping power.
3. Advanced Diagnostic Workflows for Complex Mechanical Issues

When mechanical problems extend beyond basic maintenance, systematic diagnostic procedures isolate the root cause before you start unbolting major assemblies.
Electrical Parasitic Draw Isolation
Modern vehicles retain parasitic battery draws to power onboard computers, security modules, and clock memories. However, abnormal draws can drain a healthy battery overnight:
- Setting Up a Multimeter: Set your digital multimeter to measure DC amperes and connect it in series with the negative battery terminal and the disconnected battery cable.
- Tracing the Problem Circuit: Wait for all onboard modules to enter sleep mode (typically 10 to 20 minutes). If the current draw exceeds 50 milliamps, pull individual fuses from the interior and engine bay fuse blocks one by one until the amp draw drops to normal levels.
- Inspecting Grounding Straps: Ensure all engine block, transmission, and frame ground connections are clean, tight, and uncorroded. High electrical resistance on ground paths causes erratic sensor readings and strange electrical glitches.
Internal Valvetrain and Compression Testing
Evaluating the mechanical health of an engine’s internal sealing components requires checking cylinder compression:
- Dry Compression Testing: Remove all spark plugs, disable the fuel pump relay, thread a compression gauge into a cylinder, and crank the engine five times. Record the peak pressure reading across all cylinders. A variation greater than 10 percent between cylinders indicates mechanical wear.
- Wet Compression Testing: Squirt a small amount of clean engine oil into low-performing cylinders and repeat the test. If compression rises significantly, the piston rings or cylinder walls are worn. If compression stays low, the valves are failing to seal properly against their seats.
Executing these tests accurately gives you a complete picture of internal wear. When diagnostics reveal bent valves, blown head gaskets, or scored cylinder walls, undertaking a structured auto engine repair restores full combustion chamber sealing. Staying ahead of these complex car repairs keeps your vehicle running efficiently and prevents unexpected mechanical breakdowns on the road.
4. Bodywork, Aesthetic Restoration & Minor Surface Corrections
Vehicle maintenance isn’t limited to what lies beneath the hood. Keeping the body free of rust, surface dents, and clear coat damage preserves structural integrity and maintains resale value.
Non-Invasive Body Restoration Techniques
Parking lot dings, hail damage, and minor outer-panel impacts don’t always require cutting out panels, filling them with body putty, or completely respraying paint:
- Analyzing Panel Deformation: Examine how light reflects across damaged sheet metal. Smooth, uniform contours indicate that the paint layer remains intact and flexible despite the metal underneath being displaced.
- Manipulating Metal Memory: Technicians use specialized metal rods accessed from behind the panel to apply controlled, incremental pressure directly to the back of the dent.
- Refining the Surface: Working from the outer edges of the impact zone inward toward the center releases tension in the metal, gradually pushing the dent flat without cracking the factory finish.
Using specialized pushing tools and glue-pulling systems, skilled technicians perform paintless dent repair to fix body creases without ruining original factory paint lines or requiring expensive resprays.
Rust Remediation and Surface Coating
Once rust takes root on steel panels or frame rails, it spreads beneath the paint surface, slowly eating away at structural metal:
- Mechanical Oxidation Removal: Use a wire wheel, coarse sanding disk, or media blaster to strip surface rust down to clean, bare, shiny metal.
- Chemical Rust Conversion: Treat microscopic rust pits with a phosphoric acid-based rust converter. This converts iron oxide into iron phosphate, a stable black coating that resists moisture.
- Epoxy Priming and Sealing: Apply a self-etching or epoxy primer to seal bare metal away from oxygen and moisture before applying topcoats and clear finish layers.
5. Protective Coatings, Glass Treatments & Environmental Shielding
Shielding your vehicle’s interior and high-wear areas from extreme heat, physical impacts, and UV radiation extends the operational life of key surfaces.
Cargo Area Protection and Surface Preparation
Truck beds, cargo vans, and utility haulers face relentless abuse from tools, heavy cargo, and standing moisture. Unprotected sheet metal quickly scratches, exposing raw steel to rust:
- Scuffing and Etching: Thoroughly clean the cargo area with grease remover, then scuff all paint gloss using a coarse scrubbing pad or 120-grit sandpaper so new protective coatings can bond securely.
- Masking and Taping: Tape off bed rails, tie-down anchors, drain plugs, and tailgate hinges to keep protective compounds off critical moving parts and latches.
- Applying Polyurethane Elastomers: Spraying or rolling a thick layer of polyurethane coating creates a resilient, textured barrier that absorbs physical impacts, dampens road noise, and resists chemical spills.
Consider getting a bedliner for your truck.
Solar Heat Mitigation and Window Film Installation
Solar radiation damages vehicle interiors by fading upholstery, cracking dashboard materials, and heating cabin air to extreme temperatures:
- Cleaning Glass Surfaces: Deep-clean the interior glass using fine steel wool and oil-free glass cleaner to remove grease, dust, and microscopic debris.
- Heat Shrinking Film: Contour ceramic or metallic tint film to curved glass surfaces using a heat gun before peeling the backing paper.
- Squeegee Application: Apply a slip solution to the glass, position the film accurately, and use a firm squeegee to force all air bubbles and moisture out toward the edges.
Go to a professional for auto tint services to protect your vehicle.
6. Large Vehicle Care, Frame Alignment & Specialized Collision Work
Heavy-duty vehicles, recreational haulers, and motorhomes present unique maintenance challenges due to their large size, heavy weight, and composite construction materials.
Chassis Alignment and Heavy Structural Inspections
Oversized frames experience massive torsional forces when traveling over uneven terrain or carrying heavy loads. Keeping structural components aligned prevents uneven tire wear and erratic handling:
- Inspecting Frame Rails: Check longitudinal frame rails for twists, cracks around crossmember rivets, or heavy rust scale along stress points.
- Suspension Bushing Checks: Use a heavy pry bar to check leaf spring bushings, shackle pins, and torque rods for excessive play under load.
- Kingpin and Wheel Bearing Maintenance: Lift the front axle and use a dial indicator to check kingpin play and wheel bearing endplay, adjusting or repacking bearings with heavy-duty grease as needed.
Composite and Fiberglass Body Reconstruction
Unlike automobiles made entirely of stamped steel or aluminum, large recreational vehicles and specialized haulers often feature fiberglass panels, molded gelcoats, and laminated sandwich walls:
- Grinding Structural Fractures: Grind away damaged fiberglass matrix along crack lines, tapering the edges outward to create a shallow, V-shaped trench for lay-up repairs.
- Layering Reinforcement Fibers: Cut woven fiberglass cloth patches in progressive sizes, saturating each layer with catalyzed epoxy or polyester resin before applying them to the prepped area.
- Gelcoat and Finish Matching: Sand the cured repair flat, apply a color-matched gelcoat layer, sand it smooth with ultra-fine paper, and buff it out to mirror the surrounding finish.
When large travel rigs suffer structural damage, structural cracks, or frame twists, relying on a specialized RV collision repair service ensures that heavy chassis alignments, fiberglass repairs, and slide-out mechanisms are repaired back to safe operational standards.
Using This Guide for Vehicle Maintenance and Auto Repairs
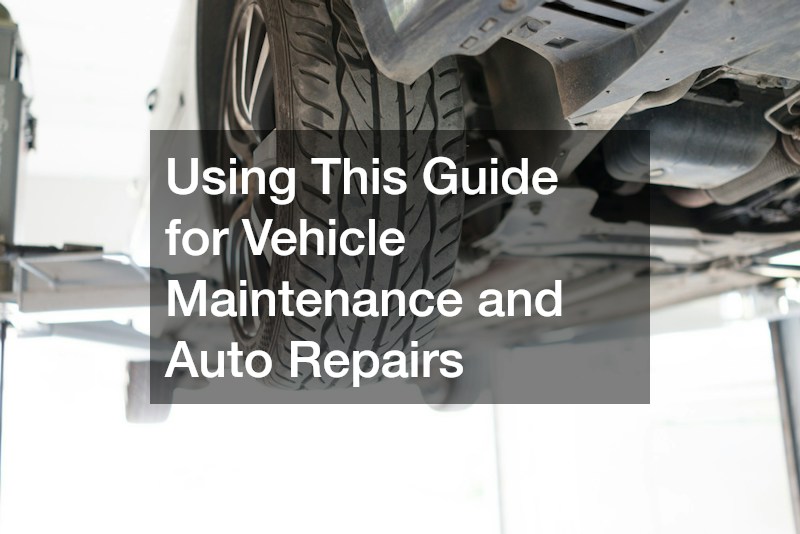
A well-maintained vehicle delivers reliable performance, safe handling, and strong resale value. Taking an active, systematic approach to mechanical care—from monitoring engine compression and inspecting brakes to protecting cargo areas and repairing body damage—prevents small maintenance items from escalating into costly repairs.
Developing a routine service schedule based on your vehicle’s age, mileage, and driving conditions gives you full control over its operational health. By applying the practical inspection and maintenance techniques outlined in this guide, you can confidently protect your automotive investment and enjoy many years of trouble-free driving.